How to Export and Import PST File in Outlook 2019?
Microsoft has launched the upgraded version of Outlook 2019. In today’s world, no one wants to take risks at any cost. The best way to secure Outlook emails is to take backup of their data. In this article, we will include everything related to PST files like how to export PST file and how to import PST file into Outlook 2019.
Table of Content
1. What is PST file?
What is PST file?
PST stands for Personal Folder Table which is supported by Outlook. It stores all email messages, contacts, calendars, tasks, and other items. This is the most common file in which information is saved by home users or in small organizations. After Outlook 2003, the format of the PST file changed from ANSI to UNICODE. The reason behind this was to allow international character support and to extend the size of PST files beyond the 2GB limit.
When Outlook exports emails, Contacts, and calendar information to a PST file format, It makes a copy of the information. Nothing is deleted from Outlook
In the section below, we are going to discuss how you can export and import PST file in Outlook 2019.
Steps to Export PST file From Outlook 2019 are as follows:-
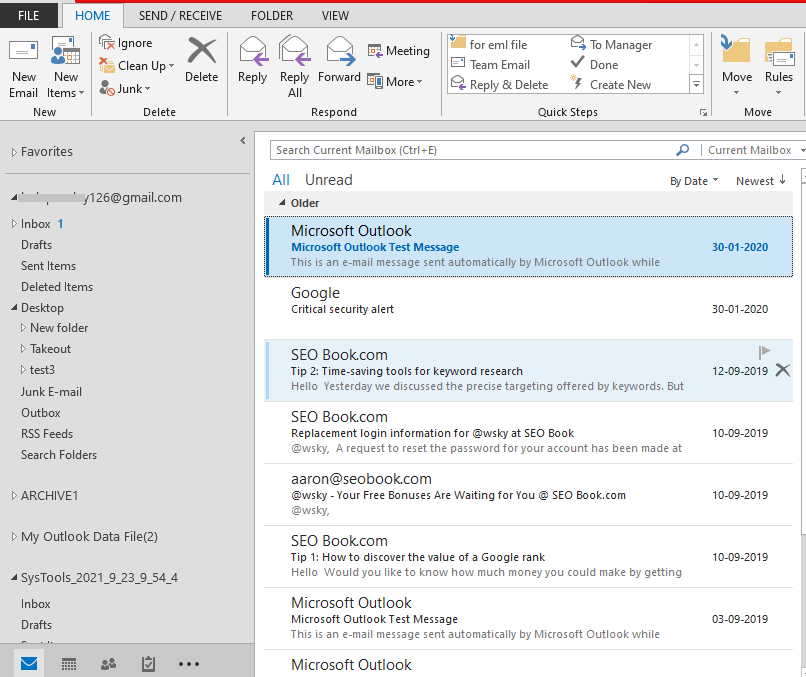
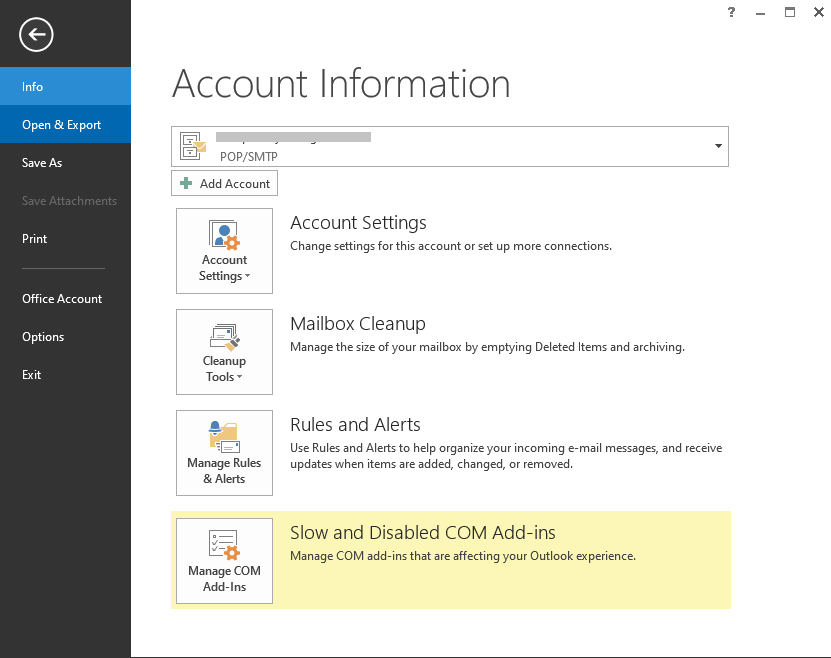
1. Run MS Outlook 2019 on your computer. Click the File menu from the top bar.
2. Click “Open & Export” and select the “Import/Export” option from the sub-menu list.
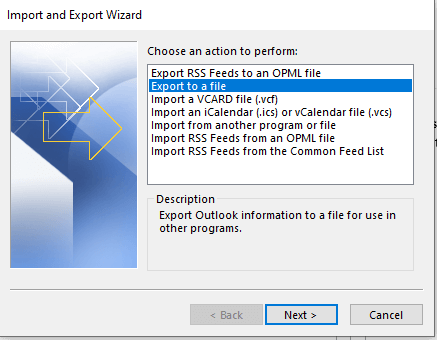
3. Now choose “Export to a file” and click Next,
4. Select the folder to export from.

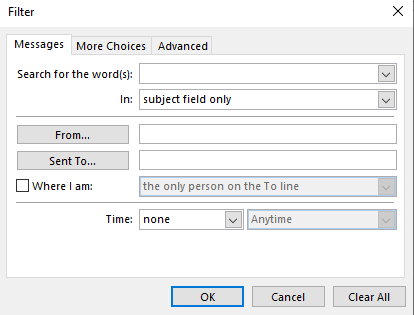
5. You can use filters as per your requirements.
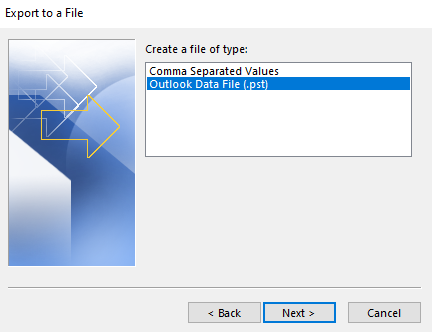
6. Select Outlook data file (.pst) as File type and click to Next.
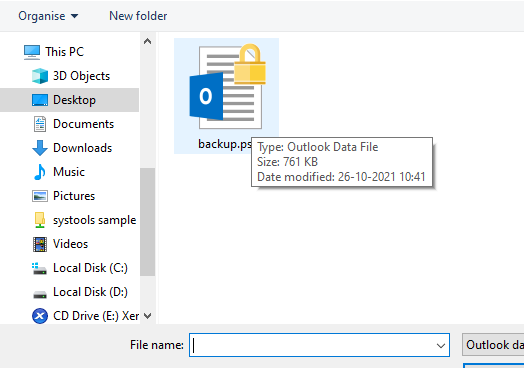
7. Click on Browse and select the location where you want to save the exported file.
8. Under options choose the required one. You have three choices
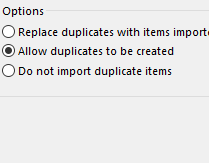
. Replace duplicate with items imported
. Allow duplicate to be created
. Do not import duplicate items
9. Enter the password of your PST file. It is recommended to create a password that must be remembered, otherwise, your file will be locked permanently. You can leave this if you do not want to create a password. Do this at your convenience.
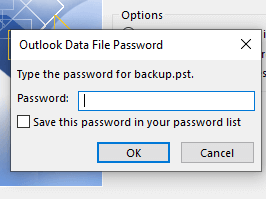
The entire process of export PST file is complete.
Steps to Import PST file in Outlook 2019 are;
1. At the top of your Outlook ribbon, select File.

2. Select Open & Export >> Import/Export. This starts the Import/Export.

3. Select Import from another program or file, and click Next.
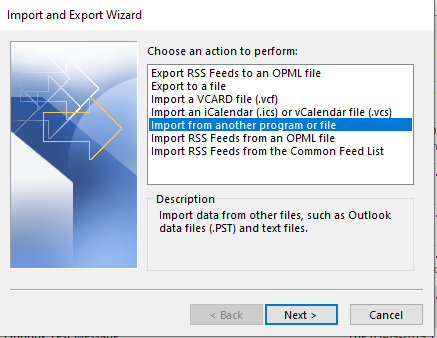
4. Choose Outlook Data File (.pst) and click Next.

5. Browse to the pst file you want to import from.

6. Under options choose the required one. You have three choices.

. Replace duplicate with items imported: Choose this option only if you are sure that your imported PST file has more updated data than the current one you have. If you have not, then choose between the remaining two.
. Allow duplicate to be created: If you choose this option all the data from the imported PST file will be added, including the duplicate emails. This option requires cleaning after some time if you have many duplicates.
. Do not import duplicate items: This is the preferred option if you know that the imported PST file has only old data. Choose this option if you want to import no duplicate emails.
7. If a password was assigned to the Outlook Data File, enter the password, and click OK.

8. Click on the Finish button to begin the import process.
Outlook starts importing the contents of your PST file immediately. Depending on the size of your imported PST file it might take some time to complete the import. Once it is done you can browse your folders and check that the import was successful. When the progress box disappears, the import is finished.
Related Solution- How to import PST to Thunderbird
Final Verdict
In this write-up, we gave you detailed information about PST file and how to export PST file and import PST file in Outlook 2019. This can really help users to easily export and import the Outlook data file.
Related Posts
